Choose the right card for the problem in front of you: finish an enemy, make food, handle a group or get through a locked room.
Card guide
/ Guide updated: September 11, 2026
What does your next turn need?
5 card guides · 3 card names
Check your cards after upgrades
CombatAttack
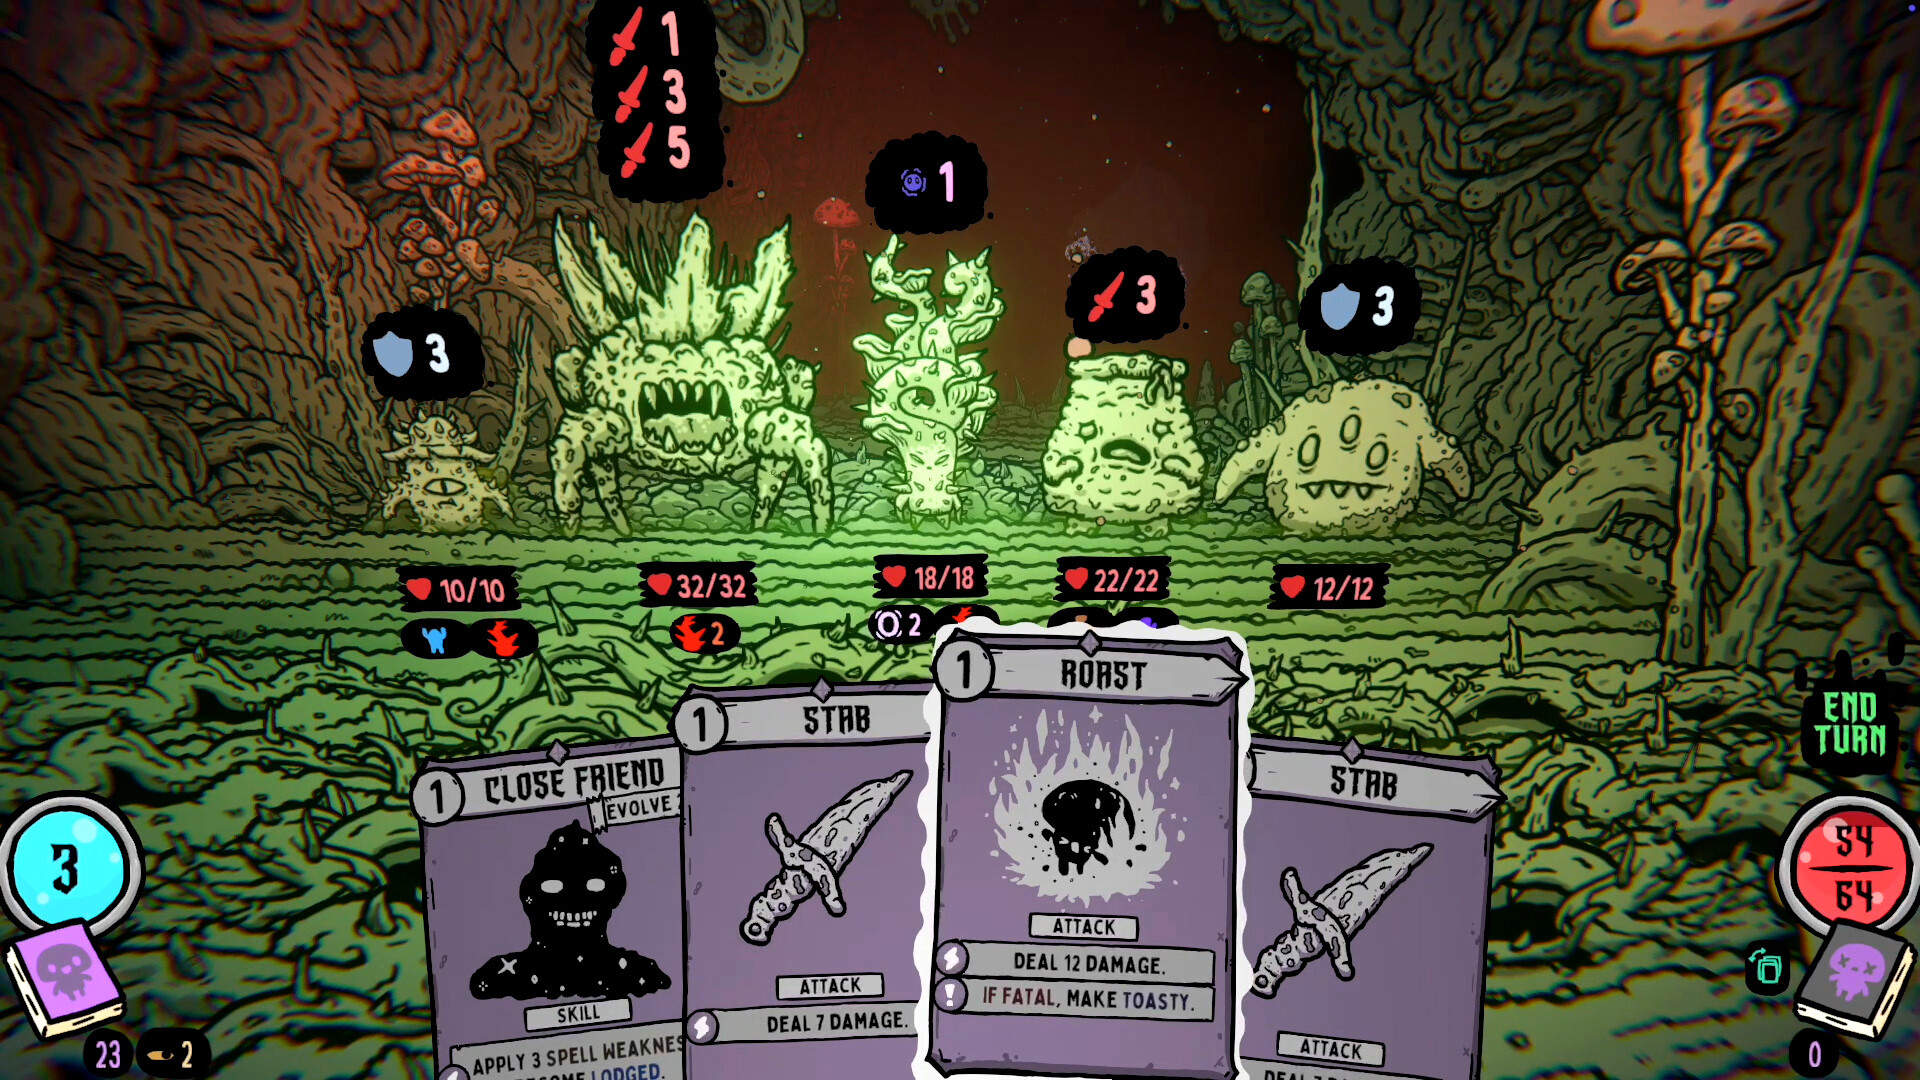
Stab
Set up a finishing blow
A single-target damage card. Use it to remove a threat or bring an enemy into range of an attack with a killing-hit reward.
When to use it
Use Stab when straightforward damage solves the turn. If another attack rewards a kill, work out which card should hit last before spending energy.
Play it with Roast
If Stab leaves the target alive but within Roast’s damage range, play Stab first and Roast second. Leave enough energy for both. If Stab would kill the target, you will lose the chance to make food with Roast.
Watch out
A grown Stab can deal more damage than you intended. Recalculate the target’s remaining health rather than repeating the same sequence automatically.
Card values in the screenshot
The official screenshot shows a cost of 1 and 7 damage. These are pictured values, not guaranteed starting stats.
CombatAttack
Roast
Turn a killing hit into food
Roast makes Toasty when it lands a killing hit. Its value comes from finishing the target, not simply dealing damage.
When to use it
Look for a target you can finish when you need food. Before setting up the kill, check whether you can also afford the plays you need afterward.
Set up the kill
Use an ordinary attack such as Stab to lower the target’s health, then finish with Roast. If Roast can already kill it, skip the setup attack and save the energy.
Watch out
Do not let another attack take the kill first. Making food also does not mean you have already healed: read the resulting card and check what it costs to use.
Card values in the screenshot
The pictured Roast has a Fatal effect that makes Toasty. Check your own Roast for its current damage and cost.
CombatAttack
Inferno
Weaken several enemies at once
Inferno damages all enemies. It is most useful to consider when one attack can help solve several threats.
When to consider it
Compare the enemies you can damage with the energy you will spend. Against one target, compare Inferno with your single-target attacks; hitting everything provides no extra reach in that fight.
Plan the follow-up
If Inferno leaves an enemy within Roast’s damage range, Roast can take the finishing hit. Check every target first: an enemy killed by Inferno cannot then be finished with Roast.
Watch out
Budget for the whole turn. Spending your energy on group damage can leave you unable to finish the most dangerous survivor. Inferno also has its own Fatal bonus; read it before choosing who gets the kill.
Card values in the screenshot
The reward screenshot shows a cost of 2 and 7 damage to all enemies. The screen includes a damage modification, so this is not a base-stat reference.
ExploreFood
Rat Jerky
Recover health and draw an Explore card
Rat Jerky offers a choice between Feed and healing with card draw. The healing option helps when you need both recovery and another card.
When to use it
Consider the healing option when you are missing health and want another Explore card. If your health is full, decide whether the draw alone is worth spending a use.
Plan the next play
After drawing, check the new card’s cost and target. Drawing another tool does not guarantee it is the one you need, or that you have enough energy left to play it.
Watch out
Feed and healing are alternative choices, not two rewards from the same play. Compare the room’s available interaction with the recovery you would give up, and keep track of the card’s remaining uses.
Card values in the screenshot
The gameplay screenshot shows a cost of 1, 3 uses, and a healing option that restores 3 health and draws 1 card.
ExplorePick
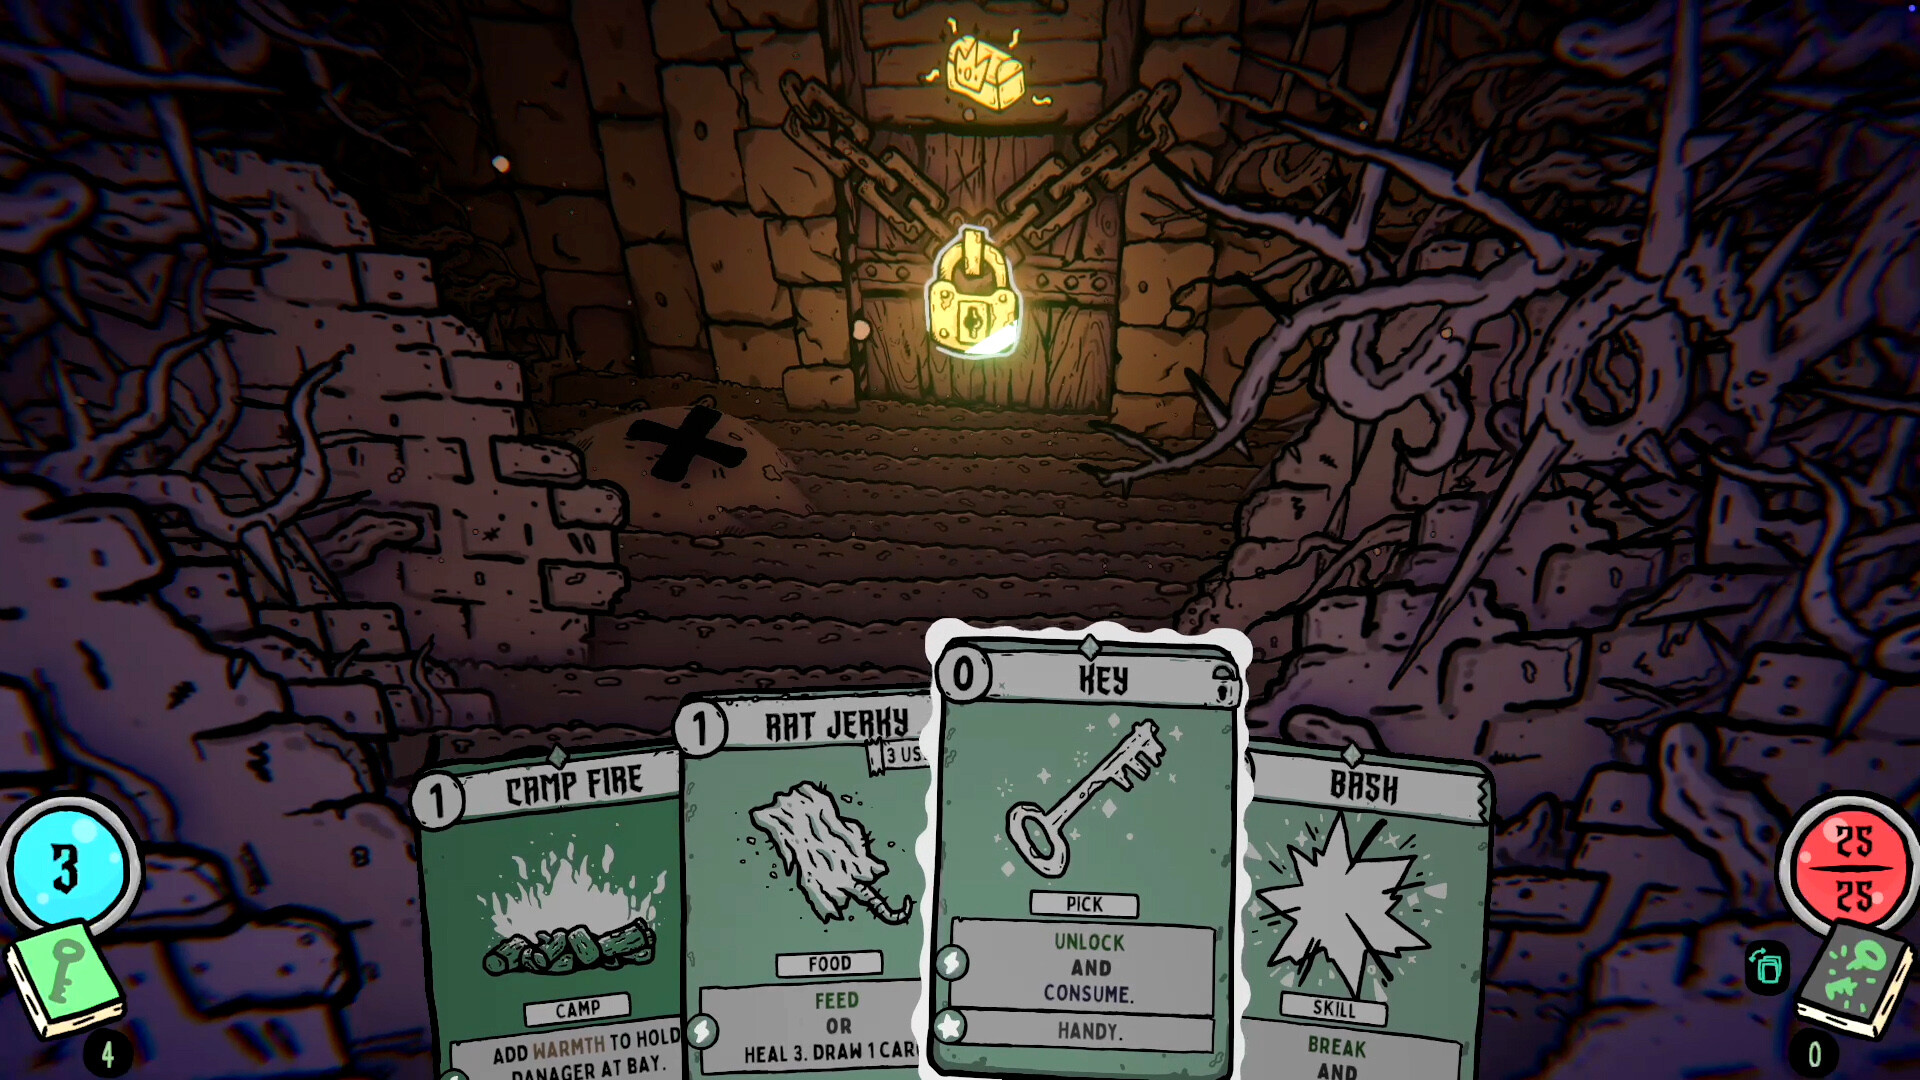
Key
Open a lock without spending it on the wrong reward
Key unlocks a target and is then consumed. Treat each use as a choice about which lock matters most.
When to use it
Check the locked objects in the room before committing. If you need the Key for your way out, do not spend your last one on optional loot first.
Plan around your hand
If you draw a Key while looking for an exit tool, reassess the room before searching again. Use the tool you need rather than taking another risky Rest out of habit.
Watch out
A consumed Key is not a tool you can keep reusing. Check the target’s required action: an unlock effect does not promise to solve every kind of obstacle.
Card values in the screenshot
The official screenshot shows a cost of 0 and an unlock effect followed by Consume. Check the current card text for additional keywords.
Looking for another card?
These names appear in the screenshots, but this guide does not yet cover their full effects or how to use them.
Try a shorter name or switch to all decks. This starter guide does not include every card yet.
Search could not load. You can still browse every card on this page.
Please reload to try again.
Why does my card show different damage?
Cards can grow and change during a run. Compare the full effect, cost and target—not just the name. A stronger attack is only useful if you can afford it when you need it. How card growth works →
Which card should I pick?
Start with the problem your deck cannot solve yet. Do you need damage, food, or a tool to open the next room? Then check whether the new card works with the cards you already have. Build a deck that works together →
What do the card keywords mean?
Fatal rewards a killing hit. Consume, Exhaust and Linger affect whether you can use the card again or keep it for later.
How do cards work together?
Follow the Concerned Parent Rage combo → See why Parental Instinct comes before Photo, how two draws boost an attack, and what can break the sequence. Based on the official August preview.
Sources & version notes
Last verified against the sources below:
. This is a
source check, not an in-game test of every interaction. Unconfirmed
details are labelled separately.